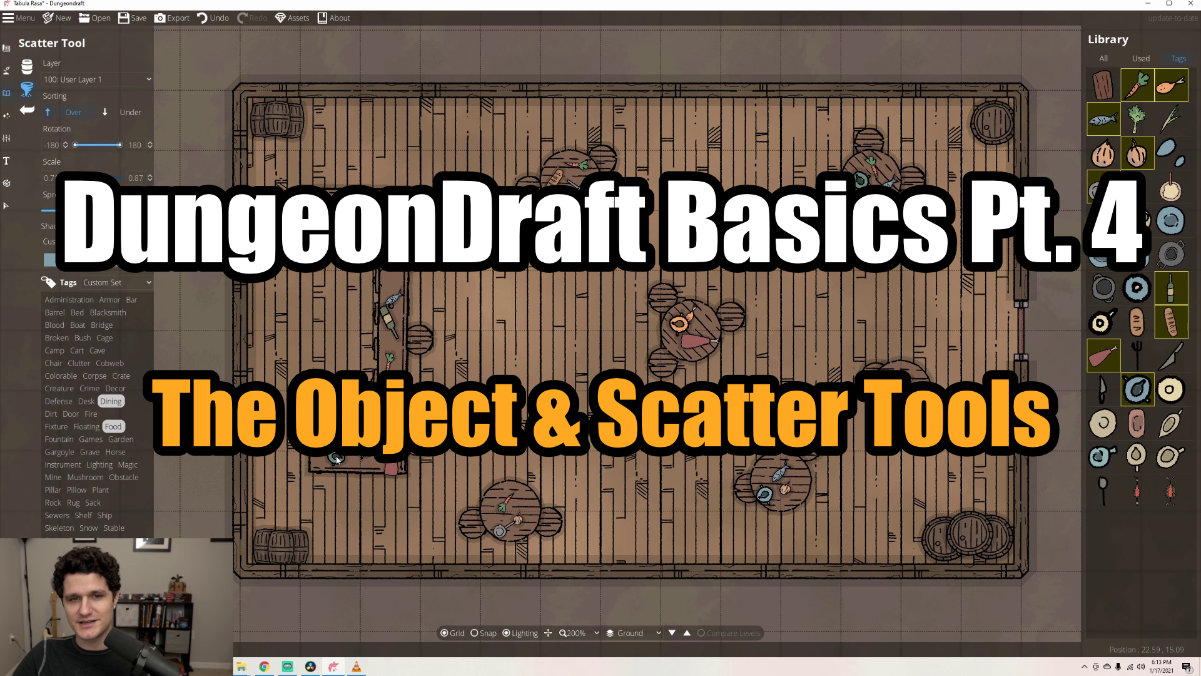
The Objects Tools in DungeonDraft
DungeonDraft Basics
With the insides and outsides of our maps ready to go, let’s go over how to fill them out with objects. In this guide, we’ll cover the basic Objects tool, the Scatter tool, and the alterations you can make to objects to get the right look for your maps.
Objects Tool
The first tool in this section is the Objects tool, and when you click into it, it opens up a huge list of all the assets that are in DungeonDraft over to the right-hand side. You can click on any of them to select it, then click to put it on the map.
One thing you’ll notice is that, by default, you can only move and place objects along the gridlines. If you want to turn that off, either uncheck the ‘Snap’ option at the bottom, or just use the shortcut key ‘S‘. With snap off, you can move objects around freely.
‘Snap’ aligns objects to the grid. Disable this to move them freely.
The ‘Over/Under’ setting changes where an object goes in relation to the other objects on the map.
Let’s look at the settings for the object tool. At the top, you’ll have the normal layer options we’ve seen in a few places before, as well as this ‘Over/Under’ setting. The ‘Over/Under’ selection lets you get everything layered just right, like if we wanted to stack two books over one another on this table. Then, if we wanted to add some that had fallen to the ground, we just switch to under, and can put it right where we want it. That’s because the table and all the books are all on User Layer 1. When we have ‘Over’ selected it goes over everything on that layer and when we have ‘Under’ selected it goes under everything in that layer.
Next up is this slider for rotation. You can click and drag on it to rotate the object, use the arrows to the side for precise adjustments, or just use your scroll wheel.
The scale slider below changes what size the object is. To quickly adjust this, you can hold ALT then scroll to adjust the size as you’d like. One quick forewarning about scale – sometimes, if you make an object really, really small, even though it shows clearly on your map, it may export a little blurry.
Next up is this button to toggle on and off shadows. With it off, the objects are just flat, but with shadows on, they get a nice little outline to them to give the map more depth.
Use the scroll wheel to quickly change rotation. Hold ALT while scrolling to resize.
Some objects in DungeonDraft can have a custom color selected for them.
Below that is this custom color picker. Some objects in DungeonDraft can be colored however you want. Usually, colorable objects are the ones that display by default with this dark red color. If we switch the color here, the colorable objects in the library will shift to preview with that new color as well, and you can place them with whatever custom color you prefer. Like we’ve seen before, you can also control the alpha channel if you want them to appear less saturated or be partially see-through.
Pro Tip: Pick a Color from the Map
In the color picker at the bottom right of the selection box there’s a ‘dropper’ icon. If you click that you can hover over any part of the map and take that color. This will help with keeping consistent colors across a map.
Down below, you can see this list of tags, but it’s grayed out. That’s because we’re currently viewing the library by ‘All.’ In this setting, you can search to find objects and refine how exact the results you get back are using the ‘Fuzzy’ and ‘Exact’ slider. For example if you search ‘Chair’ and have it set to fuzzy it may return results for ‘chair’ and ‘stair’. If you have it set to exact it will only return ‘chairs’.
You can also choose to view objects you’ve used in this map, or switch over to the ‘Tags’ option. You can also click in the ‘Tags’ area in the left-hand sidebar and it will open the right-hand sidebar to the ‘Tags’ tab.
Now, you can click on any of these tags and see all the relevant objects. There’s even a ‘colorable’ tag if you want to see exactly which objects can have a custom color selected for them. You can also CTRL + Click to select multiple, or Shift + Click‘ to select everything in a range.
There are also collections of tags in the dropdown above the list of tags. If we want to make this room a study, we could click into the ‘Office’ category, and you can see it selects all the relevant tags for us.
You can search through the library, view recently used objects, or sort by tags.
The scatter tool can rapidly and randomly place objects.
Scatter Tool
Now, between stacking objects using the different over/under settings, rotating and changing their size, and changing the color, we can already get some really great-looking maps. But, the other tool in this section gives you another interesting option for filling out maps. This is the Scatter tool, and it does just what it sounds like – it scatters objects around. So, if we select this book, then click and drag, it starts scattering them all over this now-disorganized office.
The settings for this tool look a lot like the object tool – same layer options, same over/under options, same tag sorting and the like. But, the sliders are different here – now, they let you set two points, a minimum and a maximum for rotation and scale. When we had the rotation set to range from -180 to 180, you can see the books faced all different directions. But, we can set these to the same point, and all the books will face the same direction.
The ‘Scale’ slider works similarly. If both points are on the same number, then all the books will be that size, but if you give it a range, there will be variation in the sizes you get. The other new slider down here is for ‘Spread,’ which is how dense your spread will be. This goes down into the negatives for really densely packed scatters, or you can leave it up higher for the objects to be more spread out.
Your scattered objects can have a variety of sizes and rotations.
Use the ‘Scatter Tool’ to randomly place multiple different objects.
But, the really great part of this tool is that it lets you select multiple objects. You can either Shift + Click to select everything between two points, or CTRL + Click to select different items. Adjust your scale, rotation, and spread, and then when you click and drag out your scatter, it incorporates all the objects you selected into your randomization.
If your objects are colorable, you can even control-click to choose multiple colors, and it will cycle through applying each of them to your items randomly as well.
This tool is great for filling in maps with lots of variety quickly. One thing worth noting here is that, sometimes you might want the objects, colors, sizes and so on to be randomized, but not want to drag them out in a ribbon, like if you were placing food and drinks randomly across tables in a tavern but didn’t want it scattered on the floor too. You can also just click to place individual items from your scatter selection, and it will cycle to a new random item in your selection for your next click, which gives you a little more control over the final result.
Click to place the objects in your scatter intentionally.
With terrain laid down, structures built, and our rooms full of good stuff, we’re really starting to see these maps coming together! But, there’s a ton more we can do to make your maps even more interesting. In the next guide, we’ll go over adding dynamic lighting.